In this article, you’ll learn how to create your very first PingBell, which allows you to receive custom notifications from sites like WooCommerce. You’ll learn how to add your PingBell account to WooCommerce via webhooks, so you and your team can get notified every time an event of your choosing occurs. All you need is a PingBell account and your WordPress account with the WooCommerce plugin.
Step 1: Create a Free Account at PingBell.iO
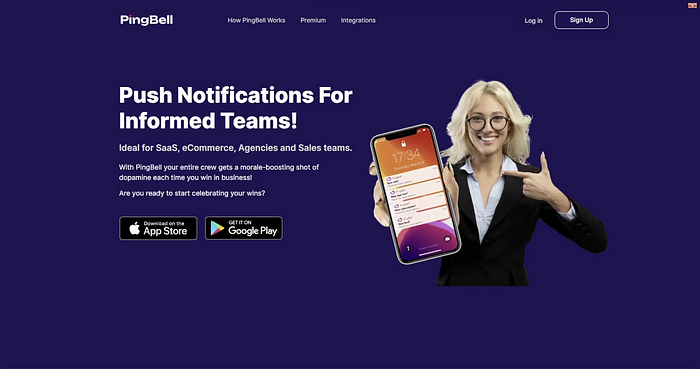
Head over to PingBell.io and create a Free account.
Step 2: Create Your First PingBell
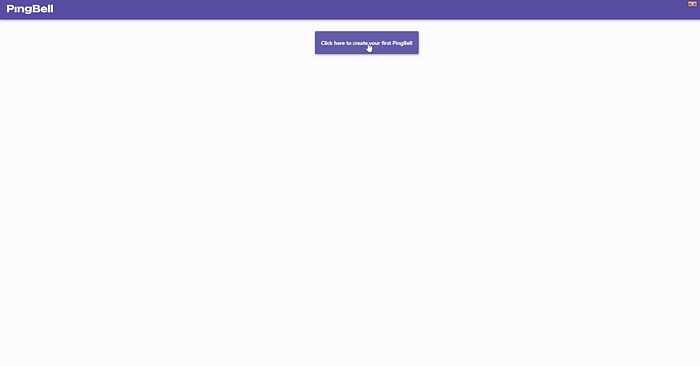
Simply hit the create PingBell button to get started.
Step 3: Edit Your Notification Settings Within PingBell
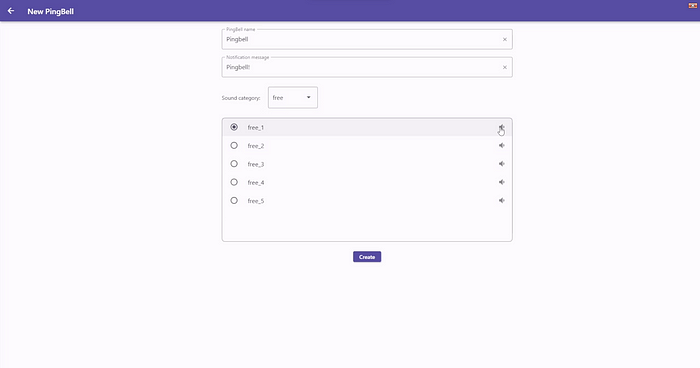
Here, you can name your PingBell and set the notification message. You can write whatever you want! Such as New Sale! Order Created! Order Completed! etc. Then, you can choose a notification sound. With a free account, you have access to some notification sounds. PingBell does offer a paid plan, with access to many more notification sounds.
Step 4: Invite Other Users
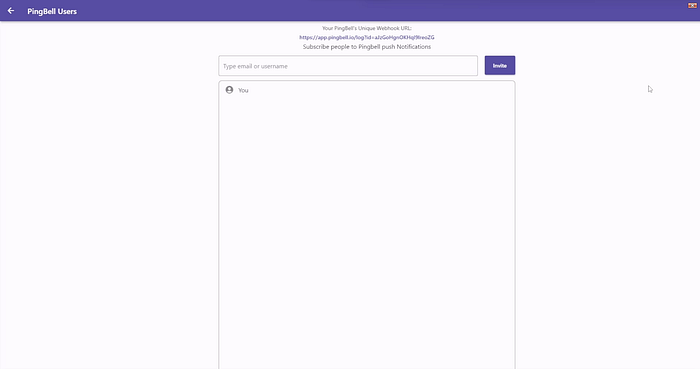
Once you hit create PingBell, you will be greeted with the users section. Here, you can invite other people to receive push notifications. Simply add their PingBell account or email. Also, at the top of this page is your PingBell URL, which we will need later to integrate WooCommerce.
Step 5: Head Over to Your WordPress Dashboard
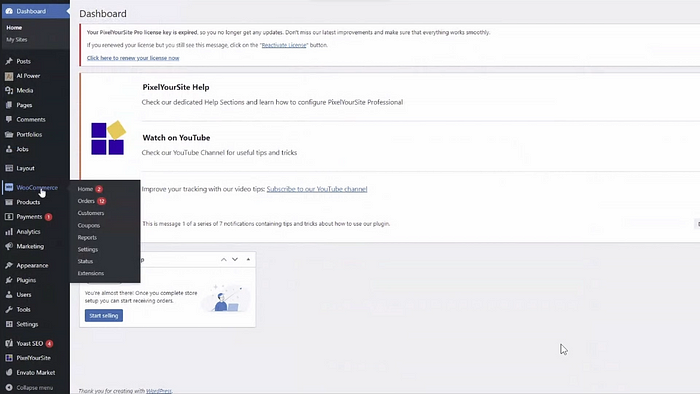
Within WordPress, make sure you have the Woocommerce plugin added. You should see it on the left hand side.
Step 6: WooCommerce Settings
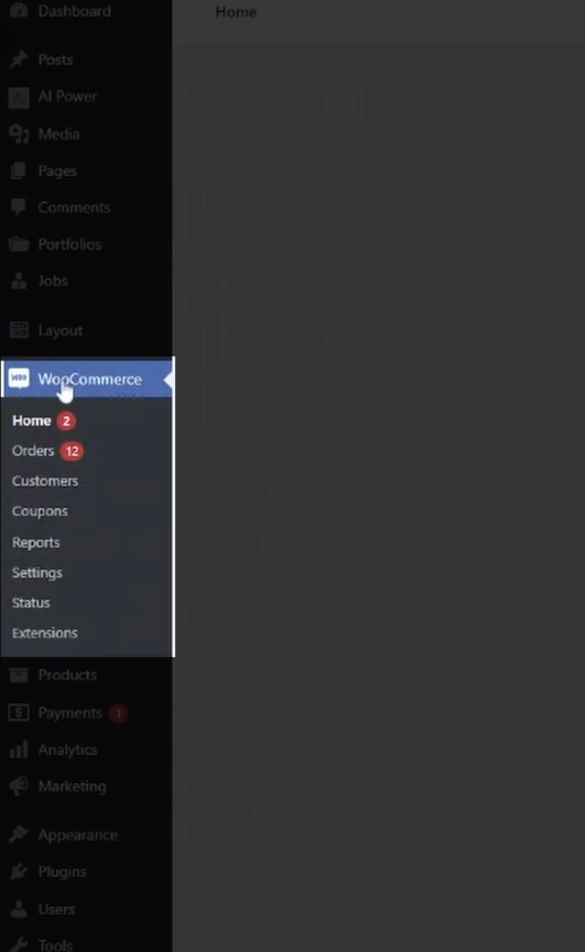
Within the WordPress WooCommerce plugin, navigate to the settings page.
Step 7: Advanced Settings
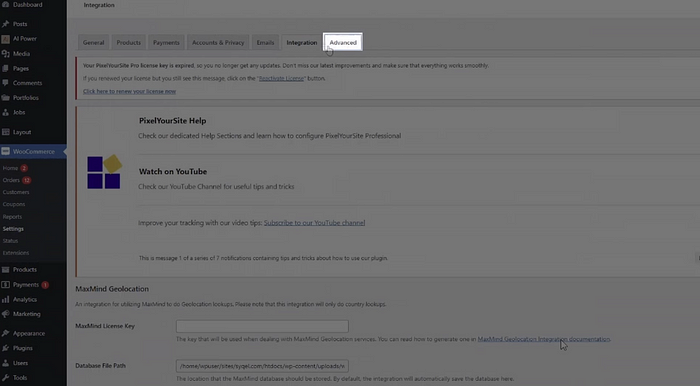
Then, go to the advanced section within settings.
Step 8: Webhook Settings
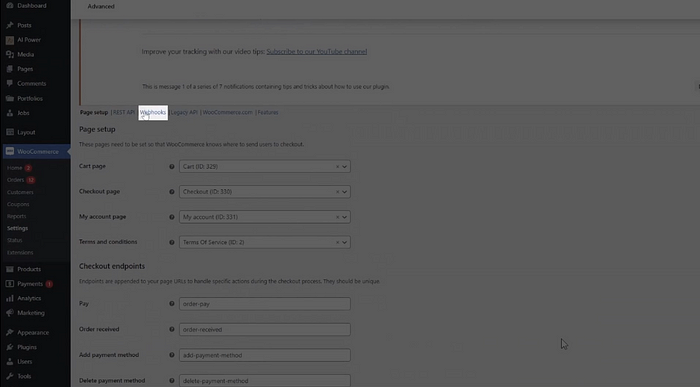
Within advanced, you’ll find your webhook settings.
Step 9: Create a New Webhook
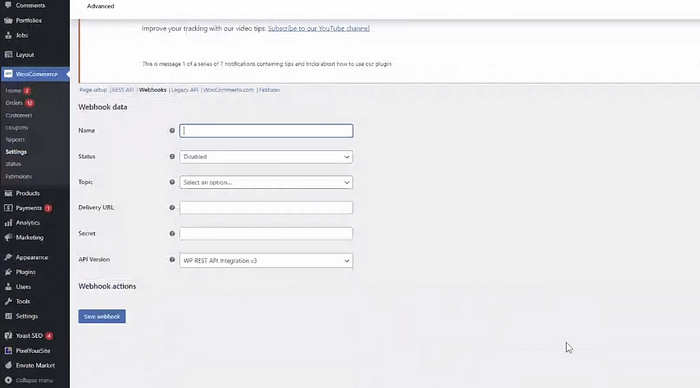
Simply hit create new webhook and you will be greeted with WooCommerce’s Webhook form. Name your new webhook and set it to active. Then, select the event you would like to be notified about, such as order created.
Step 10: Copy Your PingBell URL Code

Head back over to PingBell and copy your PingBell URL.
Step 11: Paste Your Code
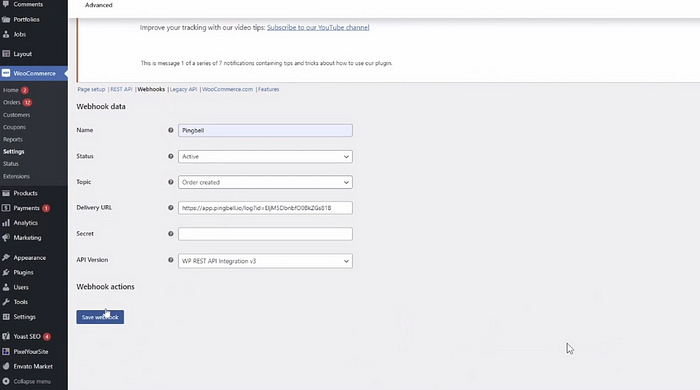
Then, paste that URL code in the delivery URL section of the webhook form. Finally, hit save!
Step 12: Get Notifications
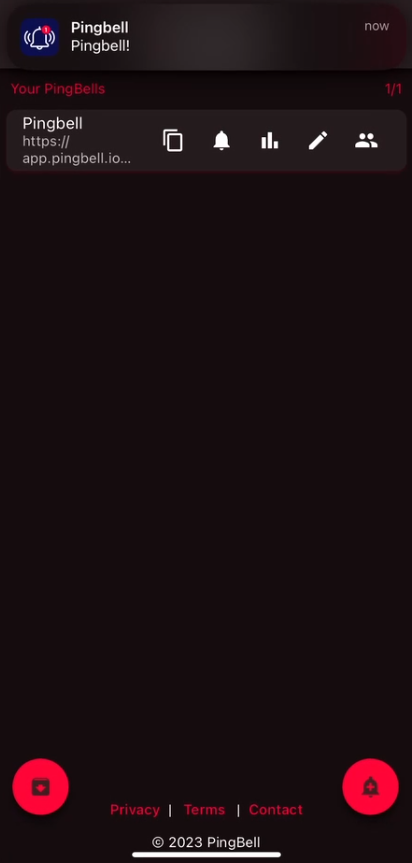
Now, any time your selected event occurs on WooCommerce, you will be notified!

